Below are the steps to set up workspace and start development of Adobe CQ5 components in Eclipse:
Prerequisites:
- CQ5 Installation
- File Vault (VLT)
- Eclipse
- Apache Maven
Step 1
- Create a project in CQ5 using CRXDE LITE
- Under the /apps folder, create the nt:folder myApp.
- Under the myApp folder, create the nt:folder components.
- Under the myApp folder, create the nt:folder templates.
- Under the myApp folder, create the nt:folder install.
- Click save button after creating the above things.
Step 2 – Installing File Vault (FLT)
- In our file system, go to <cq-installation-dir>/crx-quickstart/opt/filevault. The build is available in both tgz and zip formats. Extract either of this two archives.
- Add <cq-installation-dir>/crx-quickstart/opt/filevault/vault-cli-<version>/bin to your environment PATH so that the command files vlt or vlt.bat are accessed as appropriate. For example, <cq-installation-dir>/crx-quickstart/opt/filevault/vault-cli-1.1.2/bin
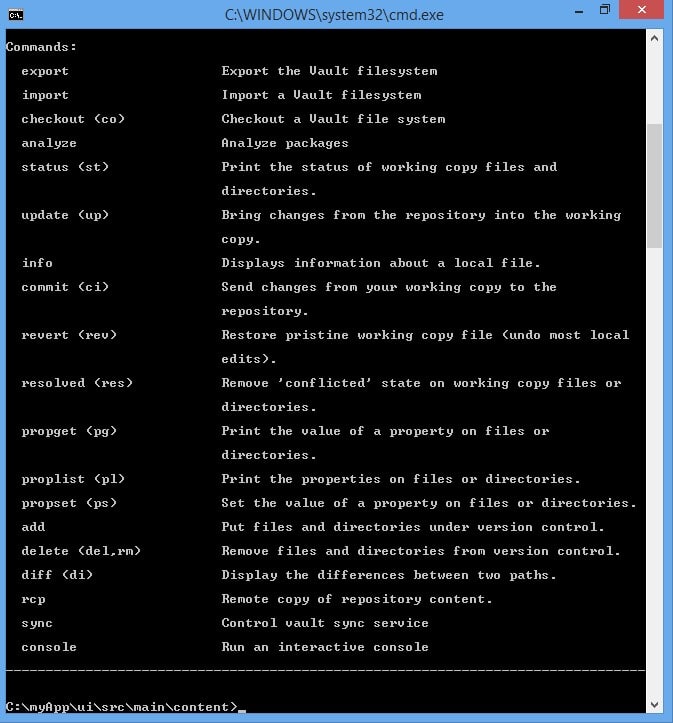
- Open a command line shell and execute vlt –help. Make sure it displays the following help screen:

Step 3
- Open eclipse by double clicking eclipse.exe
- Create a new workspace for your project and name it myApp.
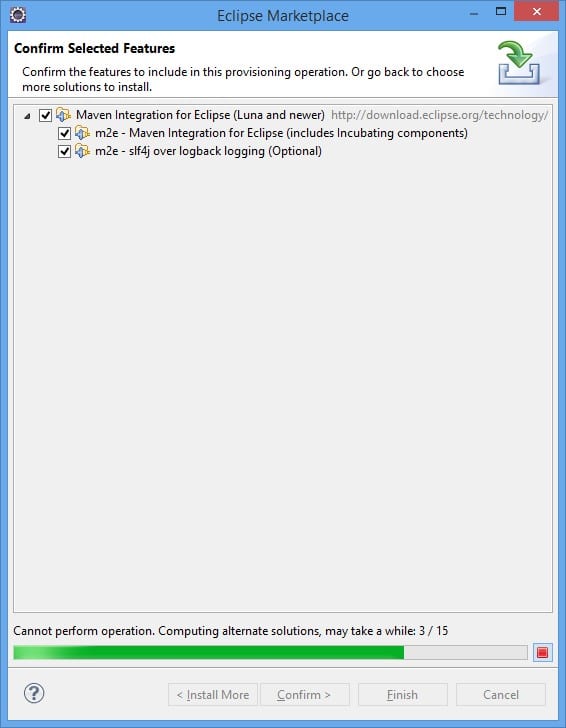
- install maven plugin through eclipse market place

- After installation, restart Eclipse.
Step 4
In this section, we create two Maven projects: One called UI (after User Interface) which contains the CQ5 project structure with the JSP scripts and the other called Core which contains the Java code (source and compiled). The compiled code is stored in a jar file. The advantage of such a structure is that it adds modularity and autonomy to the logic of your application because each jar file (bundle) can be managed separately. Follow the below steps:
- In Eclipse, click File > New > Other.
- In the dialog, select Maven > Maven Project and click Next.
- Select the Create a simple project option and the Use default Workspace location option, then click Next.
- Specify the following property values for the Maven project, and accept the default values for all other properties:
- Group Id: com.day.cq5.myapp
- Artifact Id: ui
- Name: CQ5 MyApp UI
- Description: This is the UI module
- Click Finish.
Now, set the Java Compiler to version 1.5:
- In the Project Explorer view, right-click the ui project and click Properties.
- Select Java Compiler and set following properties to 1.5:
- Compiler compliance level
- Generated .class files compatibility
- Source compatibility
- Click Ok
Now, create the filter.xml file that defines the content that VLT exports:
- In the Project Explorer view, in the ui/src/main folder, create the content folder.
- Under content, create the META-INF folder.
- Under META-INF, create the vault folder.
- Under vault, create the filter.xml file.
In filter.xml, copy the following code to filter.xml:
<?xml version=”1.0″ encoding=”UTF-8″?>
<!– Defines which repository items are generally included –>
<workspaceFilter version=”1.0″>
<filter root=”/apps/myApp” />
<filter root=”/etc/designs/myApp” />
</workspaceFilter>
- Now, save filter.xml.
Step 5
Use VLT to check out the CQ5 content into your ui project:
- In the system command line, change the current directory to the following directory in your Eclipse workspace: <eclipse>/<workspace>/myApp/ui/src/main/content.
- Execute the command: vlt –credentials admin:admin co http://localhost:4502/crx
- This command creates the folder jcr_root under <eclipse>/<workspace>/myApp/ui/src/main/content. This maps to the CRX root (/). Under jcr_root the following files and folders are created, as defined in filter.xml:
- apps/myApp
- etc/designs/myApp
- It also creates two files, config.xml and settings.xml in //myApp/ui/src/main/content/META-INF/vault. VLT uses these files.
- In the ui Eclipse project, create a link to the apps folder that you just checked out. This link enables your JSP scripts to reference the files.
- Right-click ui, select New, and then Folder.
- In the dialog box, click Advanced and select Link to alternate location.
- Click Browse, specify <eclipse>/<workspace>/myApp/ui/src/main/content/jcr_root/apps, and then click OK.
- Click Finish.
For any queries, please feel free to contact – aem@nextrow.com

